If you haven’t read about my $5 pocket Filofax find, check it out here! This new-to-me planner is going to a good use: planning my March 2018 wedding!
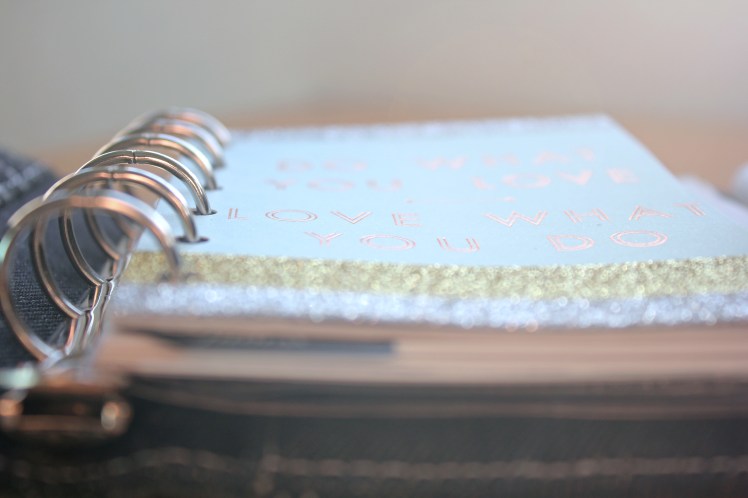
My set-up is really straightforward, because I’ve never planned a wedding before, and honestly, I’m not sure what I’m going to need and what I’m not. I may eventually invest in an “official” wedding planner (such as one from Plum Paper Planner or Erin Condren), but for the time being, this is working out really well, and will be great as a satellite planner even if I do get a more heavy-duty one.

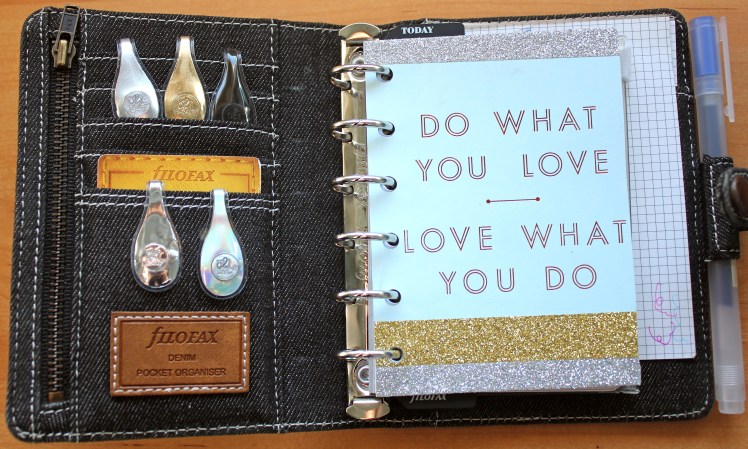
When you open it up, you can see some beautiful magnetic paper clips from Öli (purchased at the Container Store) and my dashboard. I made the dashboard by cutting down a Kikki K quote card, putting some metallic washi tape on it, and laminating it.
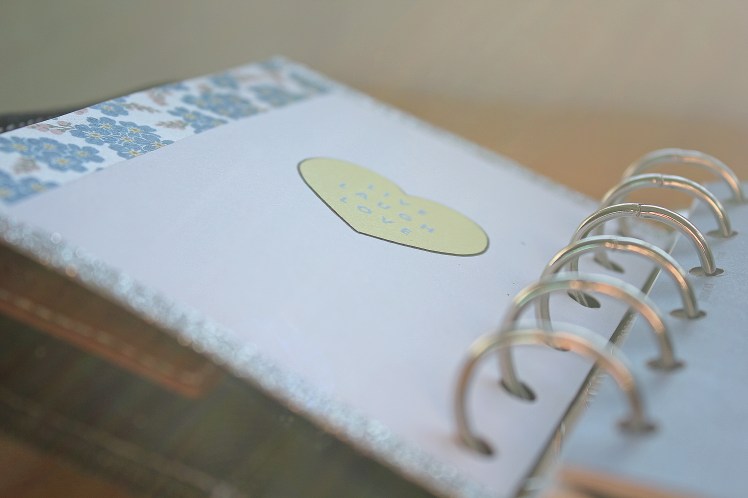
On the back there’s some more tape and a sticker.
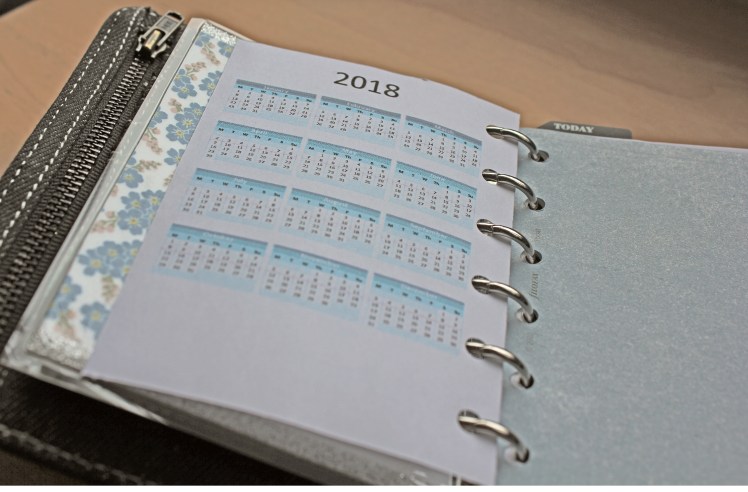
Next in the planner are two year planners, 2017 and 2018 (downloaded from Philofaxy). These are just for quick date reference.
For dividers, I just used a standard set of pocket sized dividers I had handy. I really like the way they match the planner, actually! I haven’t sorted my sections yet, besides broadly.
In the first section, I have a wedding planning timeline I found on Pinterest and downloaded, shrunk, and printed. It’s a bit small and hard to see, but it works well enough! 😉 I’ve also included some basic Filofax To-Do pages here.


Next is a reception details checklist and ceremony checklist from the same place. And then the rest of the sections are just full of notepaper! Finally at the end I’ve got three plastic folders to put business cards, notes, etc. And in the back, more notepaper for quick notes.
I’ll update this with any new developments, but for the time being this is a great place to keep all my random ideas together, and is working quite well!
Organizedly yours,
L.

I love how you’re using your Filofax as a wedding planner!